Structural Fiberglass Repair: Step-by-Step Guide for Damaged Sculptures
Common Structural Damage Issues on Fiberglass Sculptures
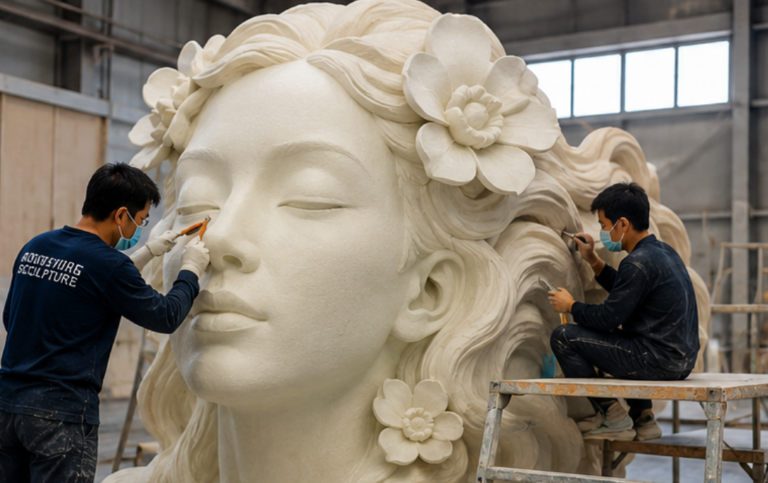
Fiberglass (FRP) sculptures are widely used for commercial decoration due to their stable structure and weather resistance. However, long-term outdoor exposure and frequent human contact inevitably cause structural damage.
Many sculpture owners only focus on surface appearance but ignore hidden structural problems. Untreated structural damage gradually leads to cracks, breakage, and permanent deformation.
Main Pain Points of Structural Fiberglass Repair
Most beginners face the same difficulties when performing structural fiberglass repair.
Wrong damage judgment: Many people cannot distinguish superficial cracks from structural fractures, resulting in improper reinforcement.
Unsuitable adhesive materials: Using instant glue instead of epoxy resin cannot support long-term structural stability.
Missing reinforcement layers: Skipping fiberglass cloth leads to repeated breakage in stress-bearing positions.
Rough post-processing: Uneven polishing and mismatched paint ruin the overall visual effect after structural repair.
Industry Data of Fiberglass Structural Damage
According to fiberglass product maintenance statistics, structural damage shows clear regularity among commercial sculptures.
68% of outdoor FRP sculptures develop subtle structural cracks within one year.
45% of sculptures in crowded commercial areas suffer from collision-induced structural breaks and edge gaps.
72% of non-professional structural repairs fail within three months due to insufficient reinforcement.
The data proves that standardized structural fiberglass repair is essential to extend sculpture service life.
Step-by-Step Structural Fiberglass Repair Process
This guide provides simple, reliable structural fiberglass repair steps for beginners. The core logic remains unchanged: assess structural damage, prepare professional materials, reinforce internal structure, smooth surfaces, and restore protection layers.
Step 1: Assess Structural Damage Condition
Before repair, classify the damage to confirm structural severity.
Cracks: Surface lines without separation, requiring basic structural reinforcement.
Breaks: Sculpture split into pieces, needing strong structural bonding.
Gaps: Partial material loss causing unbalanced stress points.
Paint peeling: Exposed base material that accelerates internal structural aging.
Regardless of damage type, the core goal is structural reinforcement + surface restoration.
Step 2: Prepare Professional Repair Materials
All supplies are easily accessible in hardware stores or online.
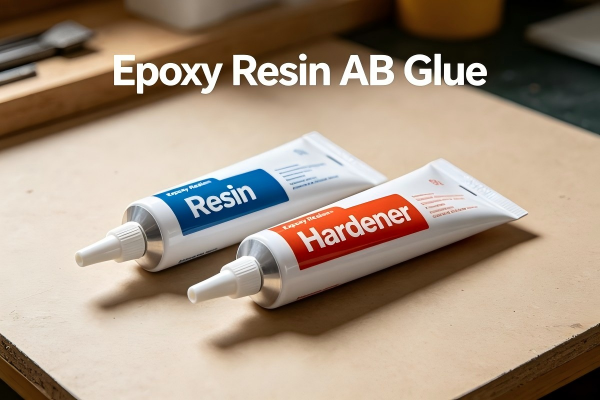
Epoxy resin AB glue: The key material for structural bonding; never use quick-drying super glue.
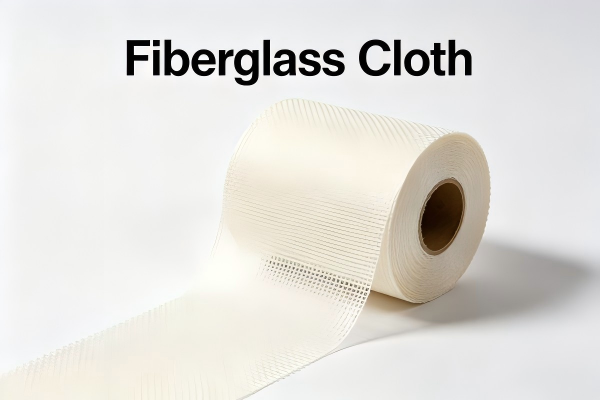
Fiberglass cloth: Essential for broken and stress-bearing positions to enhance structural toughness.
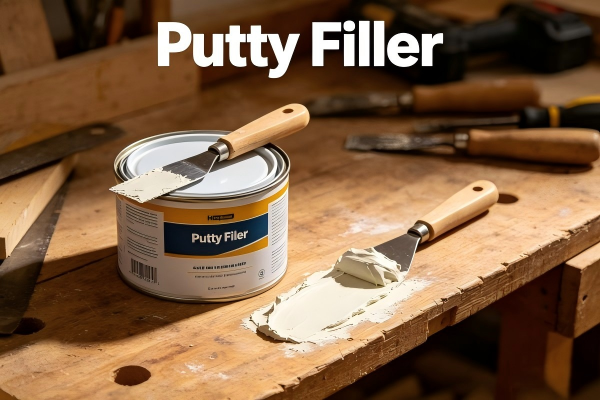
Putty filler: Used for smoothing uneven surfaces after structural reinforcement.
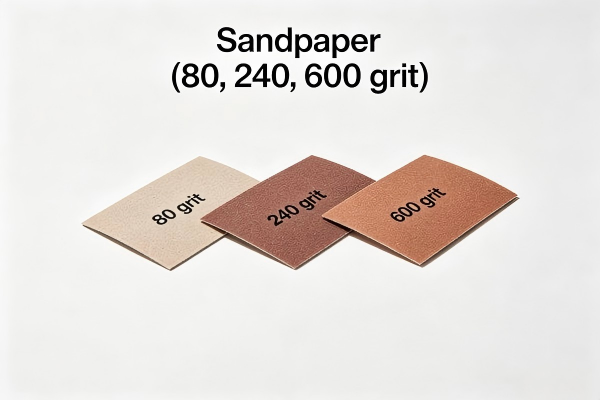
Sandpaper: 80-grit, 240-grit, 600-grit for layered polishing.
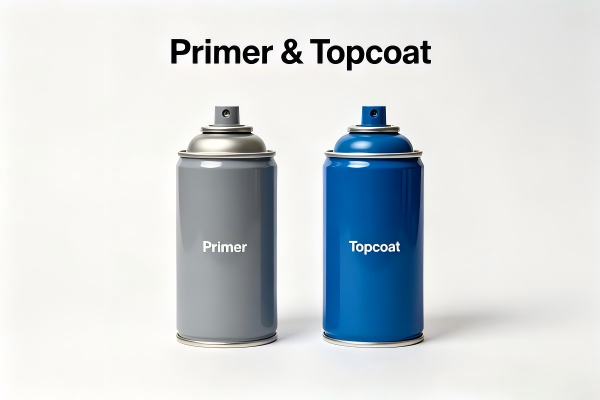
Primer & topcoat: Color-matched paint for final surface protection.
Step 3: Reinforce the Internal Structure (Core Step)
Structural reinforcement determines the durability of fiberglass sculptures.
For cracks: Polish both crack sides, remove dust, inject epoxy resin, and clamp until fully cured.
For broken sculptures: Roughen fracture surfaces, apply epoxy evenly, and align tightly. Cover stress points with fiberglass cloth for secondary structural reinforcement.
For gaps: Fix temporary support on the backside, then fill epoxy in layers. Avoid thick one-time filling to prevent structural shrinkage and deformation.
Step 4: Fill and Polish the Surface
After structural curing, the repaired area remains uneven.
Apply putty filler smoothly and polish progressively after complete drying.
Polishing sequence: 80-grit rough polishing → 240-grit medium polishing → 600-grit fine polishing.
Stop polishing when the surface feels flat and seamless.
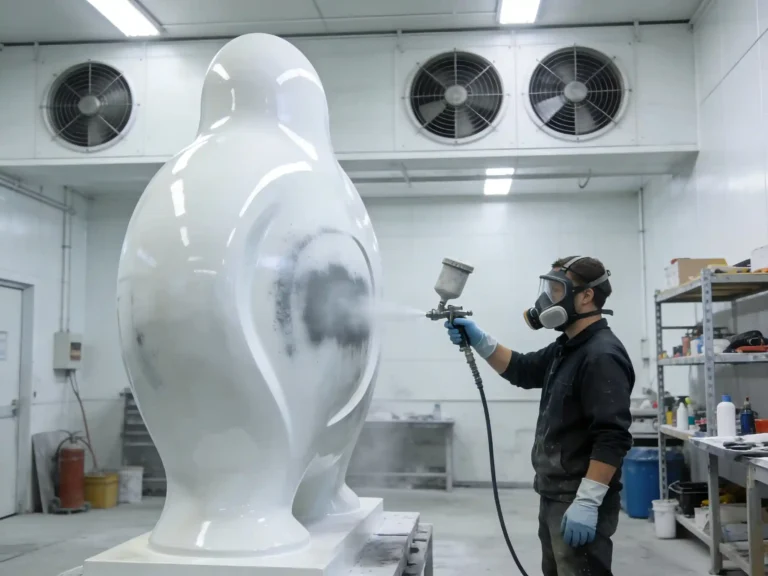
Step 5: Paint and Add Protective Coating
Surface coating prevents external factors from damaging the reinforced structure.
Spray one layer of primer to cover filler and protect the internal structure.
Match the topcoat color with the original sculpture; apply 2 to 3 thin layers instead of one thick coat.
For outdoor sculptures, add a transparent varnish layer. It effectively resists UV rays, water erosion, and slows down structural aging.
Reserve sufficient drying time to avoid secondary structural damage.
Practical Structural Repair Case
A commercial cartoon fiberglass sculpture suffered structural breaks, edge gaps, and long-term paint peeling after 18 months of outdoor display.
The management team adopted this structural fiberglass repair workflow. They reinforced fractured structures, filled gaps, polished smoothly, and finished the anti-aging coating.
The repaired sculpture shows no color difference or obvious repair traces. The maintenance cost is only 12% of a new sculpture. It has remained structurally stable for 8 months without recurring damage.
Conclusion & Knowledge Sharing
Learning basic structural fiberglass repair helps you handle cracks, gaps, and minor breaks efficiently. Standard reinforcement methods greatly extend sculpture lifespan and reduce daily maintenance costs.
For severe deformation and large-area structural fracture, avoid blind self-repair to prevent irreversible damage.
All tutorials are designed to help fiberglass sculpture owners master reliable structural maintenance skills.