How to Create Stunning Custom Fiberglass Sculptures?
Would you like to own a one-of-a-kind fiberglass sculpture?
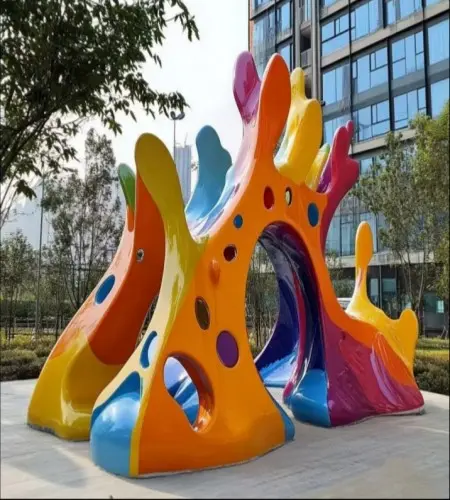
Whether it’s for commercial displays, theme park installations, or brand mascots, custom fiberglass sculptures can perfectly bring your vision to life.
As a professional fiberglass sculpture manufacturer, we help clients turn their designs into reality every day.
Below, we’ll walk you through the process of creating a “stunning” custom sculpture from a manufacturer’s perspective.
Step 1: Start with a Sketch to Define Your Design
Every great sculpture begins with a clear idea.
Start by sketching on paper or modeling using digital tools.
Ask yourself a few questions:
What are the dimensions of the sculpture?
Should the surface be smooth or rough?
Will it be placed indoors or outdoors?
Tip: The more complex the shape, the more important it is to break down the structure in advance. Breaking a large sculpture down into several parts and assembling them later makes the process much easier.
Step 2: Create a Prototype (the Foundation of the Mold)
Fiberglass is a “moldable” material, so you’ll need a prototype to make the mold.
You can create a prototype using the following materials:
1. Foam (most common; easy to cut and sand)
2. Clay (suitable for organic, irregular shapes)
3. Wood or metal (suitable for designs with strong geometric elements)
The key is to carefully sand the surface of the prototype. This is because the mold will faithfully replicate every detail—including imperfections.
Once sanding is complete, apply a primer and release agent to prepare for the subsequent molding process.
Step 3: Making the Mold
The mold determines the final precision of the sculpture.
For most custom sculptures, we recommend using a split mold.
Basic steps:
1. Spray a release agent onto the prototype.
2. Apply gel coat to form a hard surface shell.
3. Layer fiberglass cloth and brush on resin.
4. Wait for curing, then remove the mold.
For single-sided sculptures (such as reliefs), a single-sided mold is sufficient. For three-dimensional sculptures, two halves or multiple mold sections are required.
Note: For first-time attempts, it is recommended to start with simple single-sided or hemispherical shapes to gain practice.
Step 4: Layup and Molding—The Moment the Sculpture “Comes to Life”
Once the mold is ready, you can begin the layup process.
Procedure:
Apply a release agent to the inner surface of the mold again.
Spray or hand-brush on the gel coat (color of your choice).
Once the gel coat is partially cured, lay down chopped strand mat or fiberglass cloth.
Use a brush or roller to saturate the material with resin, removing any air bubbles.
Repeat the layering process until the desired thickness is achieved (typically 3–5 layers).
Press down firmly after each layer is laid.
Safety Reminder: Resin and hardener release irritating fumes. Be sure to work in a well-ventilated area and wear nitrile gloves and a respirator.
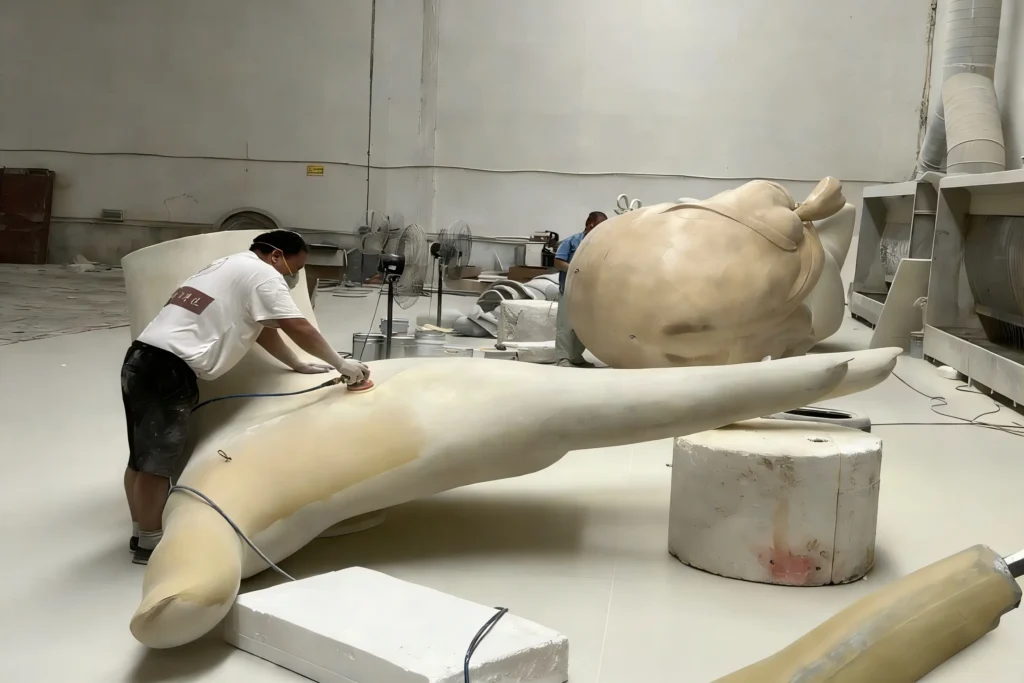
Step 5: Demolding and Finishing
Once the resin has fully cured (usually 24 hours), you can remove the sculpture from the mold.
Gently pry along the edges of the mold to release the sculpture.
At this point, you will have a “rough cast”:
The edges may be rough
There may be mold lines on the surface
There may be some air bubbles or pinholes
Trim off any flash using an angle grinder or sandpaper. For small pinholes, you can mix resin with talcum powder to create a filler.
Then, sand the piece progressively from coarse sandpaper (80-grit) to fine sandpaper (400-grit or higher) to prepare the surface for finishing.
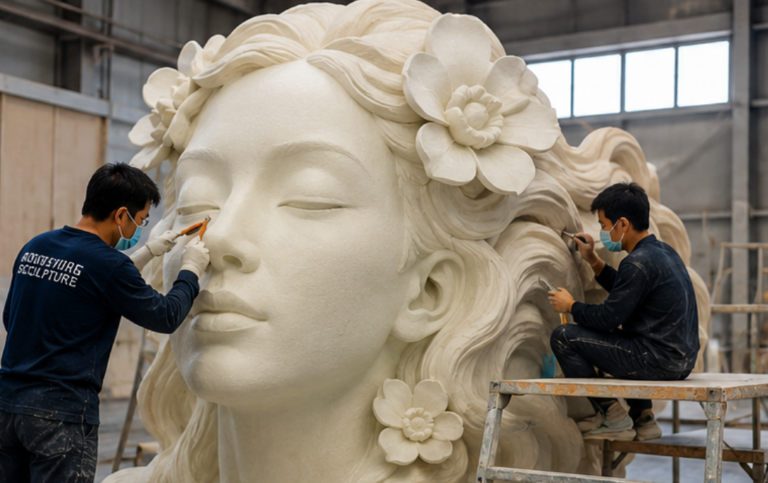
Step 6: Surface Finishing — Make It “Stunning”
Once sanding is complete, the sculpture is ready for painting or texturing.
Common methods:
1. Spray automotive paint: High gloss, long-lasting color.
2. Hand-painted acrylic: Suitable for artistic effects.
3. Metal or stone finishes: Achieved using special coatings.
4. Weather-resistant outdoor coating: If the sculpture will be placed outdoors, we recommend applying a polyurethane or clear varnish.
You can also embed mosaics, mirror shards, or LED strips into the surface to create a more unique visual effect.

Frequently Asked Questions (Most Commonly Asked by Customers)
Q: How long does it take to customize a fiberglass sculpture?
A: It depends on the size and complexity. Generally, small sculptures (under 1 meter) take about 15–20 days; large sculptures (over 3 meters) require 30–45 days. Design revisions and shipping time are calculated separately.
Q: What is the maximum size you can produce?
A: A single piece can be up to 10 meters or larger. For even larger sizes, we can manufacture them in sections and assemble them on-site.
Q: Are fiberglass sculptures susceptible to sun damage?
A: We use UV-resistant gel coat and automotive-grade topcoat, ensuring an outdoor lifespan of 8–10 years. We can also apply an additional weather-resistant clear coat to extend the lifespan.
Q: How are they transported and installed?
A: We design the internal framework and lifting points based on the sculpture’s dimensions. Large sculptures are packaged in sections, and we can provide on-site assembly and installation guidance.
Q: How are costs calculated?
A: The main components include: design and modeling fees + mold costs + material and labor costs + surface treatment fees. Mold costs are a one-time investment, so the unit price per piece decreases significantly when producing multiple copies.
Why Choose Direct Customization from the Manufacturer?
If you try to do it yourself, you’ll run into these problems:
Resin curing ratios are hard to control, leading to mold sticking or cracking
Sanding generates a lot of dust, requiring professional protective gear
Large-scale sculptures require a support structure; otherwise, they’ll warp
If the mold is made incorrectly, you’ll have to start all over again
But when you work with a professional manufacturer, all you need to do is:
1. Share your ideas
2. Approve the renderings and small-scale models
3. Wait for the finished product to be delivered
We’ll handle all the technical challenges—molds, layering, sanding, spraying, and shipping—for you.
Summary: How to Start Your Custom Project?
If you want to own a stunning fiberglass sculpture, you can get started right now.
Step 1: Organize your ideas (sketches, reference images, dimensions, intended use).
Step 2: Contact us, and we’ll provide initial recommendations and a price range.
Step 3: Once the collaboration is confirmed, we’ll provide a 3D model or prototype for your approval.
Step 4: Production, surface finishing, packaging, and shipping.
Step 5: Receive the sculpture and wow everyone.
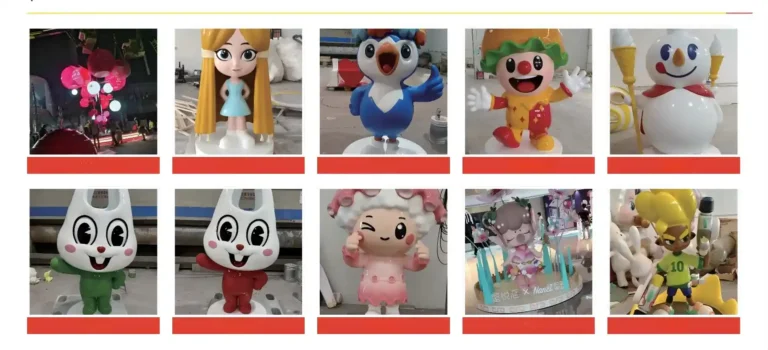
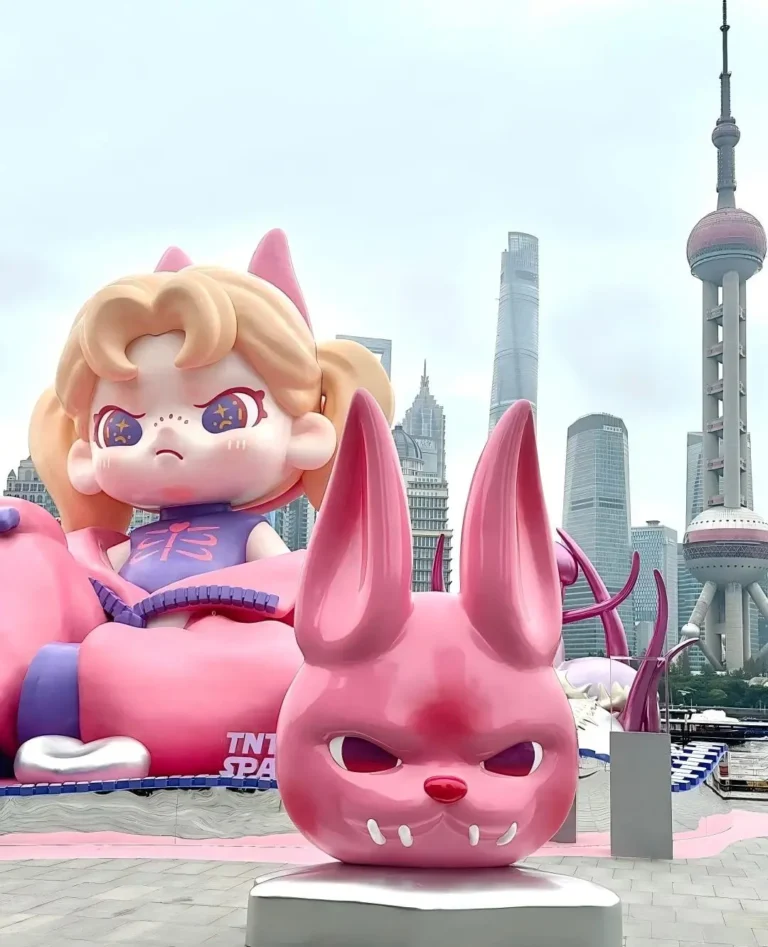
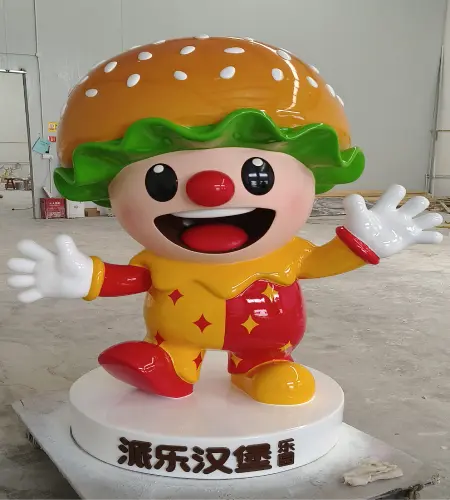
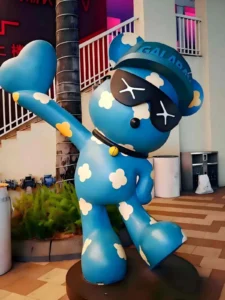
We’ve created commercial displays, amusement park character sculptures, brand IP cartoon character sculptures, museum exhibits… virtually any shape you can imagine can be realized in fiberglass.
Entrust your creativity to us, and leave the rest to our craftsmanship.
We look forward to creating your next stunning masterpiece.